I thought I would give a breakdown of the work we have done on the Talbot Express 1.9L Petrol, Highwayman, now we’ve finished it ready for the jaunt to Italy. Bought in November, we have done majority of the work in late March/April due to other events having to take priority. Only wish I had taken more ‘before’ shots for the comparison!
May be image heavy, so apologies about that, will cut it into a few posts to ease the burden!
Enjoy
Affectionately nicknamed Caravaggio for the trip to Italy, this is how we found ‘her’ (yes I know, name doesn’t match gender, but I don’t know any female cars!!!! lol) just outside Coalville, Leicestershire. All looked very good under the dry canopy!

The inside had been completely lovingly(?) kitted out with 1970s pine tongue and groove and had given it a nice rustic feeling. Thankfully everything under the bonnet looked clean and smart with nothing dripping and she had only done 57,000 miles on the clock. Bargain and £4300 I thought!

Having seen a couple of other campers of similar age and style, including swimming pools on the roof, I was particularly drawn to the amount of black gunk sealing the roof on the outside and how the internal addition of the metal frame had stopped the roof from bowing as in the previous ‘vans.

The only bit of ‘damp’ that could be spotted was the inside of the bathroom cabinet, the only place that hadn’t been covered by thick plastic cladding, and where I put my finger through the wall to the top left of the habitation door on my way out…
Bought the insurance and brought her home to give her some sound TLC and get her ready for the trip in spring.
1st January we started having a look at what was behind the pine cladding and the first off was the bulkhead in the wardrobe, mainly from the chimney that needed resealing.


Further investigation revealed that though there had been an attempt to reseal the roof, things weren’t as good as had been intended and water was still coming in. At one point rain was so bad, the window on the drivers side had filled up with water! Decision was made to remove the joint seal and replace with some mastic 40mm tape and aluminium angle brackets. We also used the tape by sealing with thin aluminium strips over the top of the panel joints on the roof. If there was a joint, cover it and seal it was the plan! Can see the angle bracket in place below. Riveted top and side to hold together. Also took out and resealed the window with the ever popular masking tape!
http://www.ebay.co.uk/itm/380416061802 if you are interested!

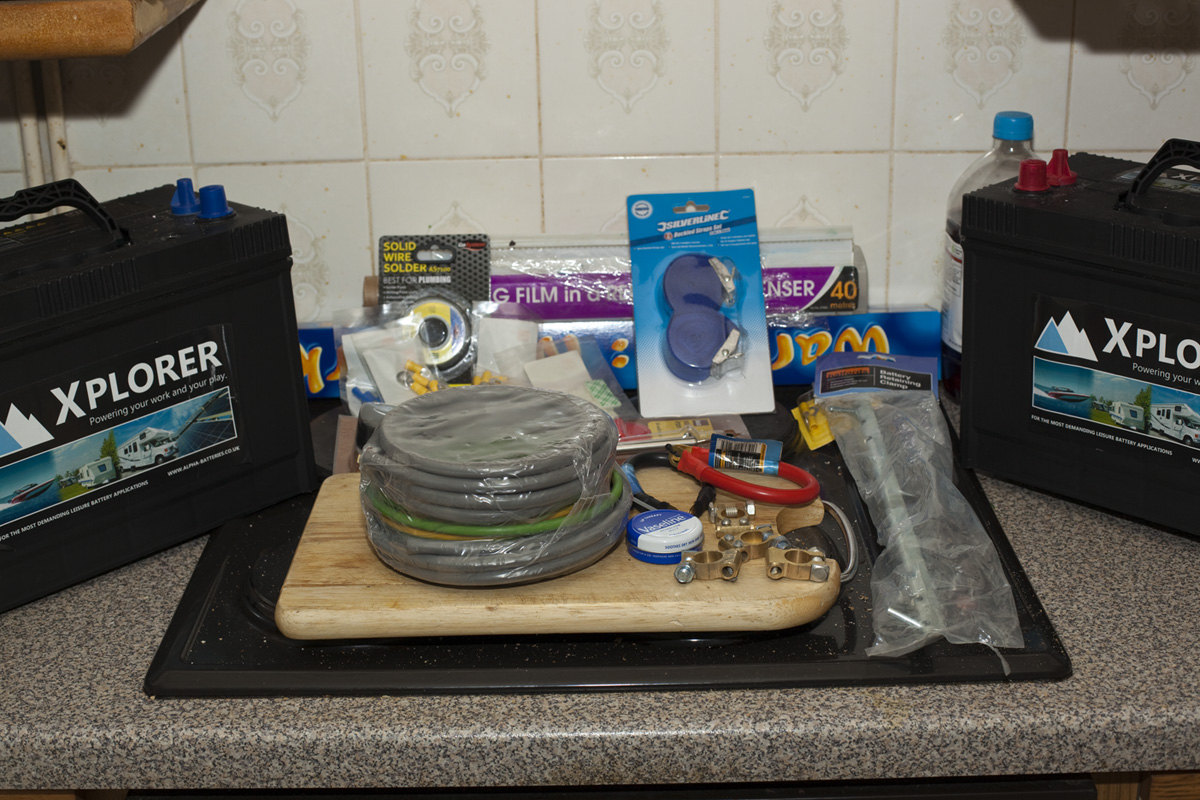
With the aim to go wild camping a lot, we doubled up the leisure battery by adding a sealed one under the passenger seat and stuck two solar panels on the roof.
I could then start converting all the internal lights to LEDs and think about installing an invertor and other bits of electrickery!

Caravaggio sailed through it’s MOT in February, only for me to blow the indicators on the way back home! Loads of help and learning from The Talbot Owners Club Website later and then next came the bathroom investigation and the discovery of a 2 foot wide hole in the aluminium skin where the door holds on to the catch, that has been covered on the outside by a plastic panel. We decided to carry on with the internal redec and leave the plastic panel in place on the outside.
Follow the progress of the bathroom fitting here here, here and eventually to completion here
Whilst making use of more mastic tape and angle bracket, we also had time to install the power steering by the marvellous Mr Hart http://www.talbot-express-power-steering-conversions.co.uk/ and a rear view/reversing camera.

Added some more LED lights and replaced all the old ones with LEDs ‘strip’ lights http://www.ebay.co.uk/itm/151029174197 including my favourite bit of lighting for the over-cab bed area http://www.ebay.co.uk/itm/360383857885

After the experience with the caravan (which I am still trying to sell by the way http://www.caravansforsale.co.uk/touring-caravans/compass/compass-corona-505-cs571237.aspx) added a blown air system to the gas fire and sent it backwards into the bathroom and forwards into the seating area. Also added some more 12v sockets to charge things!

Replaced the 240v flourescent tube with dodgy wiring that sat over the table with a couple of LED spots recessed into the pelmet thing:

For those chargey things that aren’t on 12v, hard wired in (with inline fuse) to the leisure battery a 1000W inverter.

And most of all this run from the solar MPT controller stuck in the cupboard. I know, I geeked myself out too!

Just to make sure that all this doesn’t drain the starter battery, added another smaller solar panel and controller to be removable for when the ‘van is stationary so as not to flatten the battery…

So that was pretty much it after recovering the interior walls with wallpaper up the habitation end and a lick of paint over the kitchen end and back door. Replacing the locks, sorting out water systems including replacing the (original) filter. Redoing the curtains and the carpet, shelving the wardrobe instead of (unused) hanging space, new blind on the back door, and a good scrub down!
First image for comparison and bottom two as she looks now. All ready to hit the road on Thursday!

